936 Kendon Dr Exterior Rendering (Wollert, VIC): A Practical Look at a Photoreal Workflow
This article highlights how an exterior render can move from CAD and view approval through materials, lighting, post-processing, and final delivery—using the 936 Kendon Dr project as a working example.
If you want to sanity-check a facade, materials, or a hero angle, you can share plans/references for a quote—without locking anything in.
Published by 3D Space Design • Exterior Rendering • Architectural Visualisation • Australia
What this case study shows (and why it matters)
Exterior renders are often used when a team needs one clear, realistic view that communicates façade intent, materials, and overall street presence. With 936 Kendon Dr, the goal was to follow a structured workflow so the visual stays aligned with drawings, finishes, and agreed camera angles.
When the workflow is consistent, it becomes easier to review design decisions—without relying on guesswork around colours, reflections, or site context.
Typical inputs for an exterior rendering project
To keep an exterior render grounded in the design intent, projects usually start with a set of core references. The exact list varies, but these are common:
- CAD files / plans / elevations to anchor the modelling and proportions.
- Material and colour schedules to match finishes across cladding, masonry, timber, metal, glazing, and roofing.
- Reference imagery (site photos, precedent images, product references) to align “look and feel”.
- Notes on landscaping/context such as driveway, fencing, planting, and streetscape cues.
For complementary deliverables (when needed), these links cover adjacent formats:
936 Kendon Dr: exterior rendering workflow (end-to-end)
Below is the practical sequence used for this style of exterior visualisation—kept simple so stakeholders can understand what happens at each step and what’s being approved.
1) Initial brief and intent alignment
The first step is clarifying what the image needs to communicate: façade massing, a particular hero angle, materials, or a streetscape presence. This helps the render focus on what viewers are expected to notice.
2) CAD and plan review
Plans and elevations are reviewed to confirm structure, openings, roof form, and façade articulation before any detailing begins.
3) Materials and colour schedule mapping
Finishes are translated into render-ready materials so the image reflects the intended palette and surface behaviour (matt vs gloss, rough vs smooth, reflectivity, etc.).
4) Grayscale modelling (form first)
A grayscale model is created to validate proportions, façade rhythm, and the overall geometry without the distraction of textures.
5) White render for view approval
A clean “white” render is used to lock the camera angle and composition. Once the view is agreed, the remaining work can focus on realism rather than re-framing.
6) Texturing, lighting, and photoreal detailing
Materials, environment lighting, and detailing are applied to bring the exterior into a realistic context—while staying consistent with the drawings and specified finishes.
7) Post-processing refinement
Final polish typically includes colour balancing, contrast control, subtle atmospheric adjustments, and small realism cues (while keeping the design legible).
8) Revisions and alignment
Feedback is applied to bring the render closer to the intended presentation—usually around finishes, colour balance, landscaping cues, and overall mood.
9) Final delivery formats
Deliverables are prepared for the intended use—web, presentation decks, listings, print, or approvals—so the image looks clean in real viewing contexts.
Where exterior renders are commonly used
Exterior renders often support communication when multiple stakeholders need to review a façade or streetscape quickly. They’re also used where a single image must carry the “first impression” of a project.
Architecture & construction workflows
- Façade reviews and design communication
- Material and colour decisions under realistic lighting
- Stakeholder presentations and internal alignment
Real estate & development presentation
- Off-the-plan marketing visuals
- Online listings and campaign assets
- Remote review for distributed teams
Industry pages: Architects Interior Designers Commercial Spaces Real Estate Developers
Exterior rendering across Australia (location relevance)
While this case study is based in Wollert, VIC, the same workflow is used across Australia with local context differences (streetscape, lighting mood, typical materials, and surrounding architecture).
- 3D Rendering Melbourne (VIC)
- 3D Rendering Sydney (NSW)
- 3D Rendering Brisbane (QLD)
- 3D Rendering Perth (WA)
Related reading: How architects reduce design revisions with 3D rendering Melbourne 3D rendering guide 3D rendering for real estate developers Architectural visualisation trends in Australia
FAQs
Next step: share plans for a quote (no obligation)
If you’d like to discuss an exterior render, you can send through plans, elevations, and any finish references. A quote can be prepared based on the scope and the intended use of the visuals.
Newcastle 3D Rendering Guide 3D Rendering Services in Newcastle: A Practical Guide for Architects, Builders & Developers 3D Space Design • Newcastle visualisation guide 3D rendering services in Newcastle help...
3D Rendering Services in Sydney: A Practical Guide for Architects, Builders & Developers
Sydney 3D Rendering Guide 3D Rendering Services in Sydney: A Practical Guide for Architects, Builders & Developers 3D rendering services in Sydney help architects, builders, real estate developers, interior designers...
Interior 3D Rendering in Sydney: Visualise Homes, Apartments, Offices & Retail Spaces
Sydney Interior Visualisation Interior 3D Rendering in Sydney: Visualise Homes, Apartments, Offices & Retail Spaces Interior 3D rendering in Sydney helps architects, interior designers, builders, developers and homeowners visualise a...
Exterior 3D Rendering in Sydney: Facade, Streetscape & Property Marketing Visuals
Sydney Exterior Visualisation Exterior 3D Rendering in Sydney: From Facade Concepts to Property Marketing Visuals Exterior 3D rendering in Sydney helps architects, builders, developers and real estate teams present building...
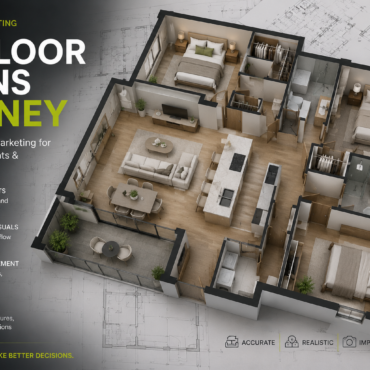
3D Floor Plans in Sydney: Better Property Marketing for Homes, Apartments & Developments
Sydney Floor Plan Visualisation 3D Floor Plans in Sydney: Better Property Marketing for Homes, Apartments & Developments 3D floor plans in Sydney help real estate agents, developers, builders, architects and...

What Files Do You Need for 3D Rendering? Sydney Project Brief Checklist
Sydney 3D Rendering Brief Guide What Files Do You Need for 3D Rendering? Sydney Project Brief Checklist Wondering what files are needed for 3D rendering? A clear project brief helps...

360 VR Walkthroughs in Sydney: Immersive Property Visualisation for Projects
Sydney Immersive Visualisation 360 VR Walkthroughs in Sydney: Immersive Property Visualisation for Projects 360 VR walkthroughs in Sydney help architects, developers, builders, interior designers and property marketers present spaces through...
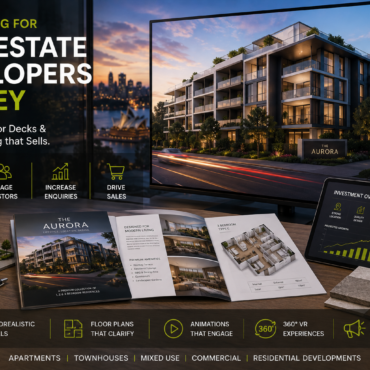
3D Rendering for Real Estate Developers in Sydney: Pre-Sales, Investor Decks & Project Marketing
Sydney Developer Visualisation 3D Rendering for Real Estate Developers in Sydney: Pre-Sales, Investor Decks & Project Marketing 3D rendering for real estate developers in Sydney helps project teams present apartments,...

Architectural Animation in Sydney: When a Walkthrough Works Better Than Still Renders
Sydney Architectural Walkthroughs Architectural Animation in Sydney: When a Walkthrough Works Better Than Still Renders Architectural animation in Sydney helps architects, builders, developers and property marketers present a project through...
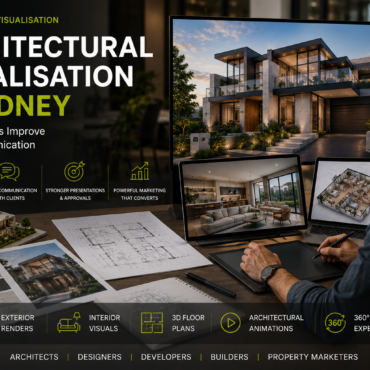
Architectural Visualisation in Sydney: How 3D Renders Improve Design Communication
Sydney Architectural Visualisation Architectural Visualisation in Sydney: How 3D Renders Improve Design Communication Architectural visualisation in Sydney helps architects, builders, developers and designers turn drawings, ideas and technical plans into...