
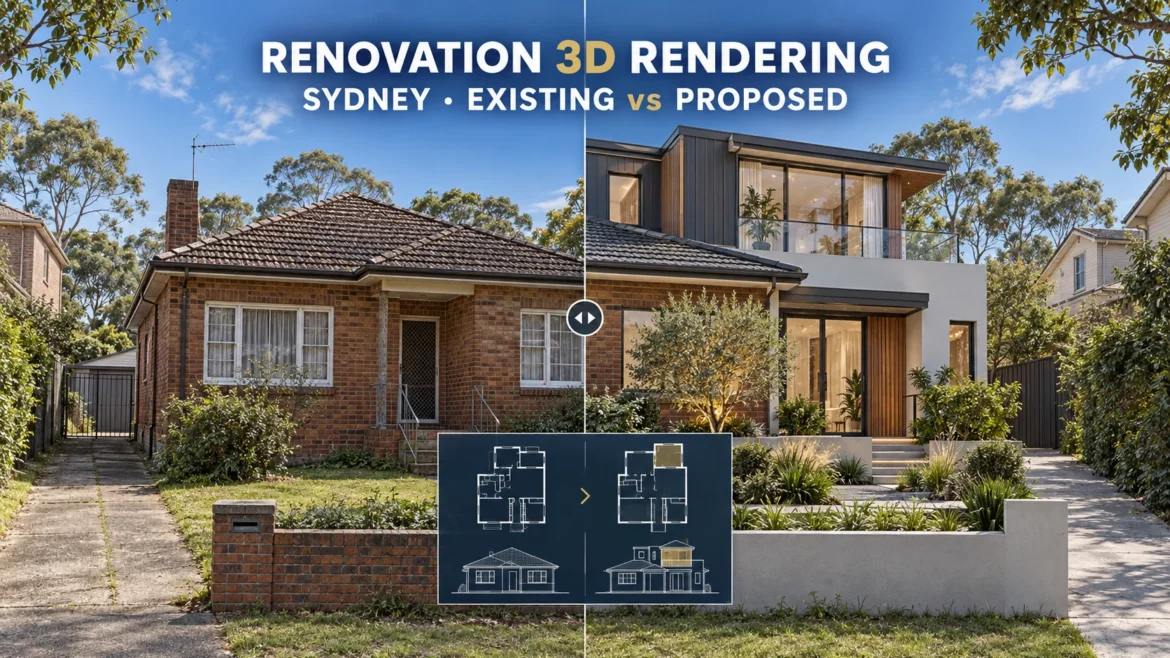
Renovation 3D Rendering Sydney: Existing vs Proposed
Sydney · Residential architects · Renovation builders
Renovation 3D Rendering in Sydney: Compare Existing and Proposed Designs Clearly
Help clients understand the actual renovation. Use matched views to explain what remains, what changes and how an extension connects to the existing home.
How should renovation renders compare existing and proposed designs?
Use aligned viewpoints and a documented existing baseline. Identify retained, removed and proposed elements, then keep lighting and framing consistent when comparing the design. Label the proposed view clearly: a render of an unbuilt renovation is a design proposal, not a photograph of completed work.
Clients we have worked with
A selection from our wider client portfolio.






Start with a reliable picture of the existing home
Before commissioning renovation 3D rendering for a Sydney project, establish what information describes the existing building. Collect current photographs, relevant measured drawings and any available survey or model information. Identify gaps before asking the artist to build the scene.
Photographs help explain materials and visible conditions, but they do not reliably establish every dimension or concealed detail. If an existing feature must be approximated, record that assumption and have the project designer review it.
Use a working plan to distinguish retained construction, demolition and additions. This gives the visualisation team a clear scope and prevents unrelated parts of the home from being redesigned accidentally.
For general input requirements, see our Sydney rendering brief checklist .
Keep the viewpoint consistent so the design change is clear
Where an existing photograph is being compared with a proposed render, agree the camera position and framing before detailed production. Supply the original photograph and available capture information. If an accurate match is not possible, explain that limitation rather than presenting the pair as a precise comparison.
Where both views are modelled, use the same camera, lens settings and image crop. Keep lighting comparable when the purpose is to judge form, materials or the scale of an addition. A lower viewpoint or a wider lens can change the impression of the project without any design change.
| Element | Existing view | Proposed view |
|---|---|---|
| Building geometry | Based on existing information. | Based on the current design revision. |
| Camera and crop | Record the source viewpoint. | Match it as closely as the information allows. |
| Retained features | Show their existing position and appearance. | Keep them consistent unless the scope changes them. |
| Lighting and styling | Use a clear, representative baseline. | Avoid unrelated changes that overpower the design comparison. |
| Labels | Identify photograph or modelled existing view. | Identify proposed design and revision. |
Show how the extension connects to the original building
Ask the architect which connection is hardest for the client to understand. It may be a new roof meeting an existing wall, an opening into the extension or a transition between internal floor levels.
Choose a view that reveals that relationship. An attractive exterior hero may introduce the overall proposal while hiding the junction the client needs to approve. A second, more focused view can be more useful than another similar wide-angle image.
If a sectional perspective or cutaway is needed, agree that output with the visualisation team. Make any removed wall or roof clear in the labelling so the image is not mistaken for a normal view of the finished space.
Read our exterior rendering guide for broader facade and streetscape considerations.
Separate the renovation scope from decorative styling
New furniture, mature planting and a freshly landscaped garden can make a proposed scene feel transformed. Those additions should not obscure which changes actually belong to the renovation.
Identify included fixtures and finishes, optional upgrades and illustrative styling. Review the image alongside the scope plan and specifications before using it in a client presentation. Confirm colours and important materials with actual product information and samples.
Example: a kitchen extension beside an unchanged courtyard
Imagine a project that extends a kitchen while retaining the courtyard. The proposed visual should preserve the courtyard’s documented arrangement unless changes to it are part of the brief. A completely redesigned garden would blur the boundary of the work.
A matching view from the courtyard towards the house could show the changed opening and extension. An interior view could explain the new kitchen connection. This is an illustrative briefing scenario, not a completed project or a measured result.
Your renovation rendering brief checklist
- Existing information: current photographs, available measured drawings and known gaps.
- Proposed design: plans, elevations and relevant sections with revision identifiers.
- Scope markings: retained elements, demolition and proposed additions.
- Comparison viewpoint: the source photograph or agreed model camera and crop.
- Selections: finishes, fixtures and any upgrades still under consideration.
- Context: boundaries, landscape and neighbouring features visible in the selected views.
- Review purpose: the decisions to resolve, target presentation date and responsible reviewer.
Review the existing baseline and proposed geometry before refining textures and styling. Keep final exports connected to the approved design revision and use our rendering feedback guide to organise changes.
Selected case studies from our portfolio
Explore our wider visualisation work across exterior imagery, site plans and immersive presentation.
936 Kendon Drive
Follow a residential exterior through model development, camera review and finished imagery.
Read the exterior case study →The Reserve
See how CAD information becomes a clearly organised presentation of a development site.
Read the site-plan case study →Anderson Street
Explore a project presented through a 360° VR experience.
Read the 360° VR case study →Recent work featured on our website
Interior, exterior and development imagery from our Australian portfolio. Select an image to view it at full size.
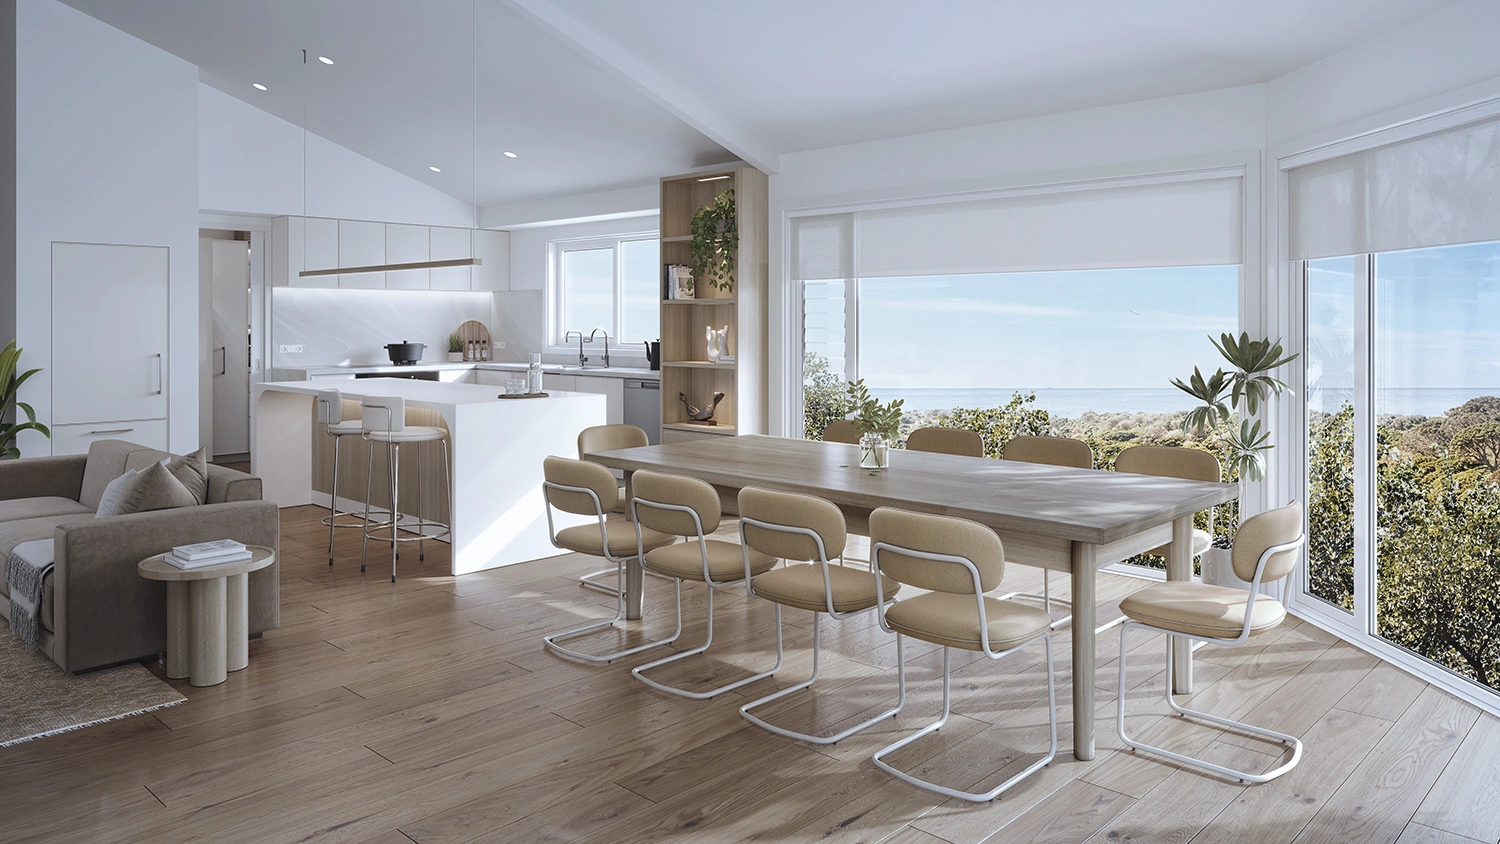
49 Wybellenna Drive
Fairhaven · Dining-area presentation.
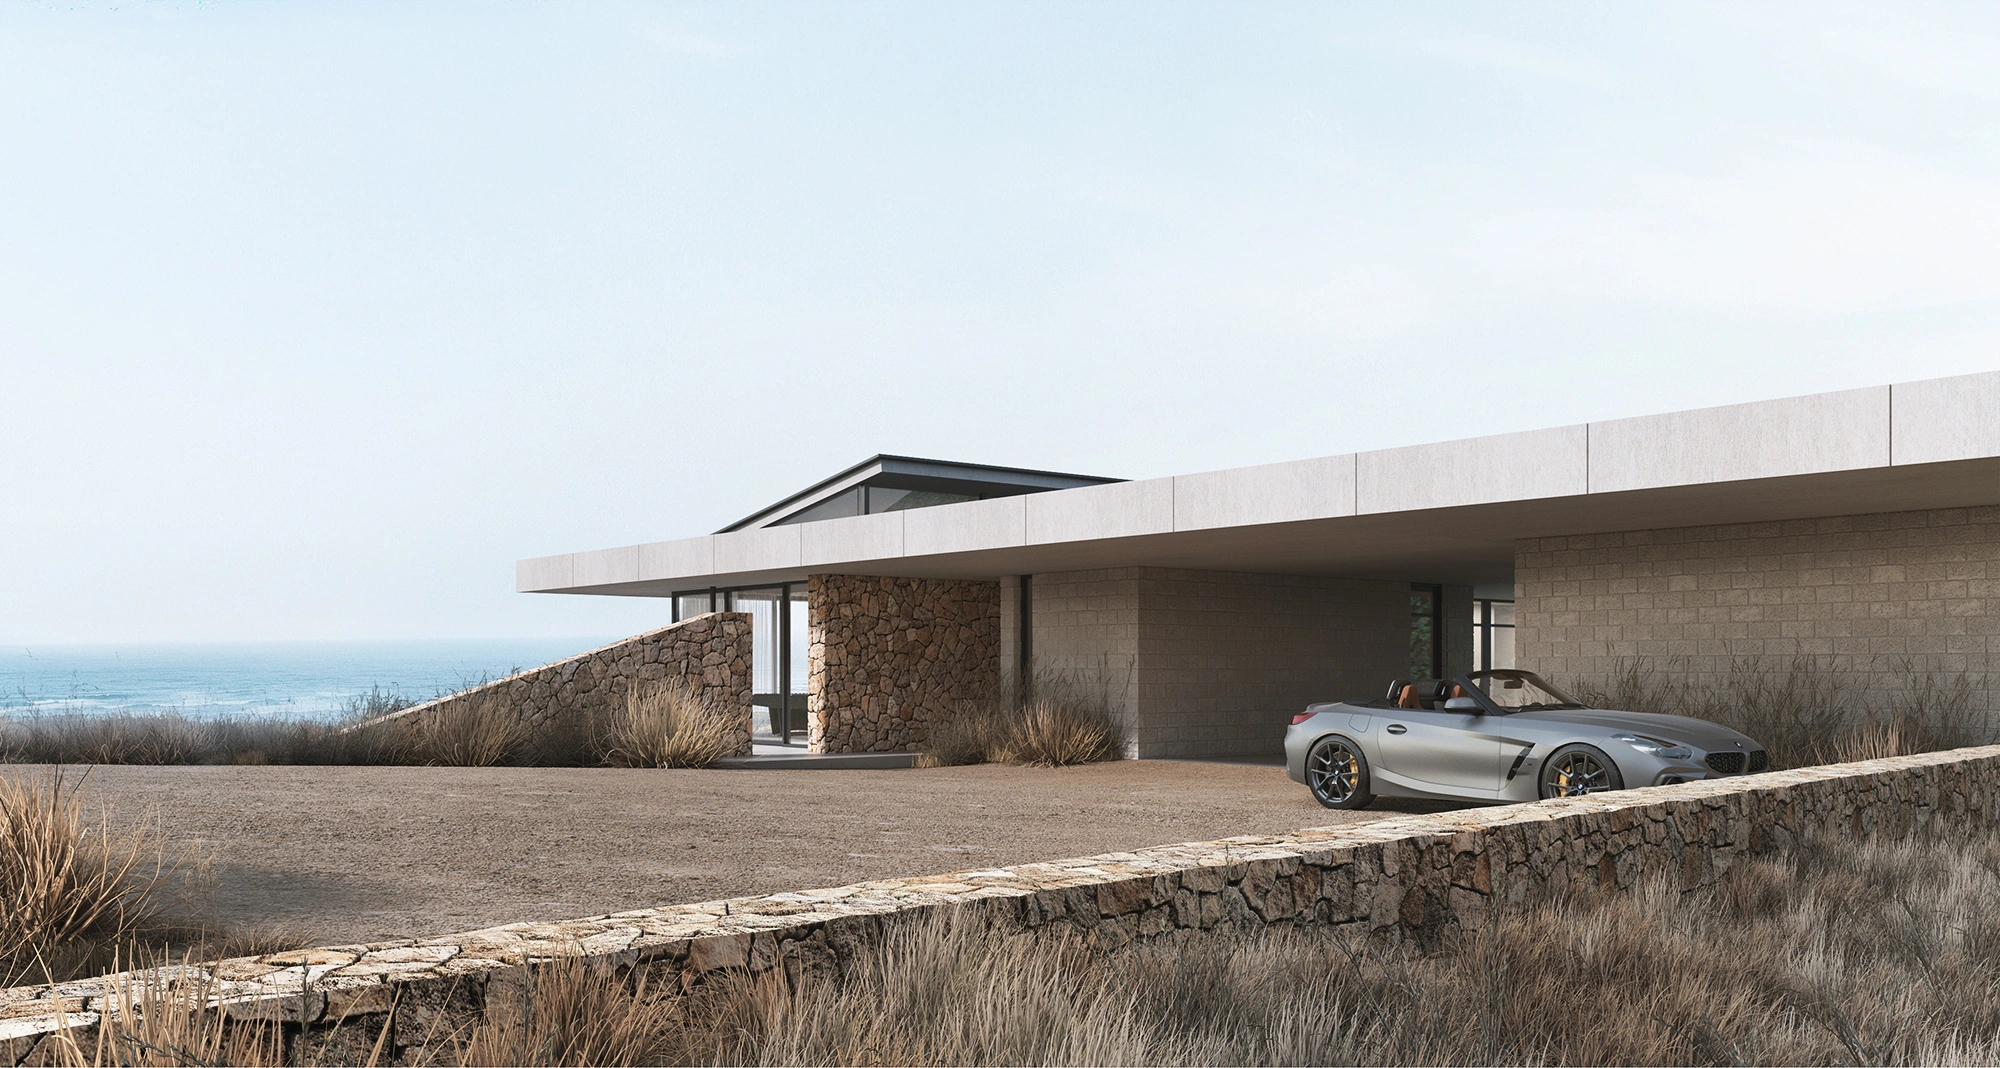
5650 Great Ocean Road
Wongarra · Residential facade presentation.
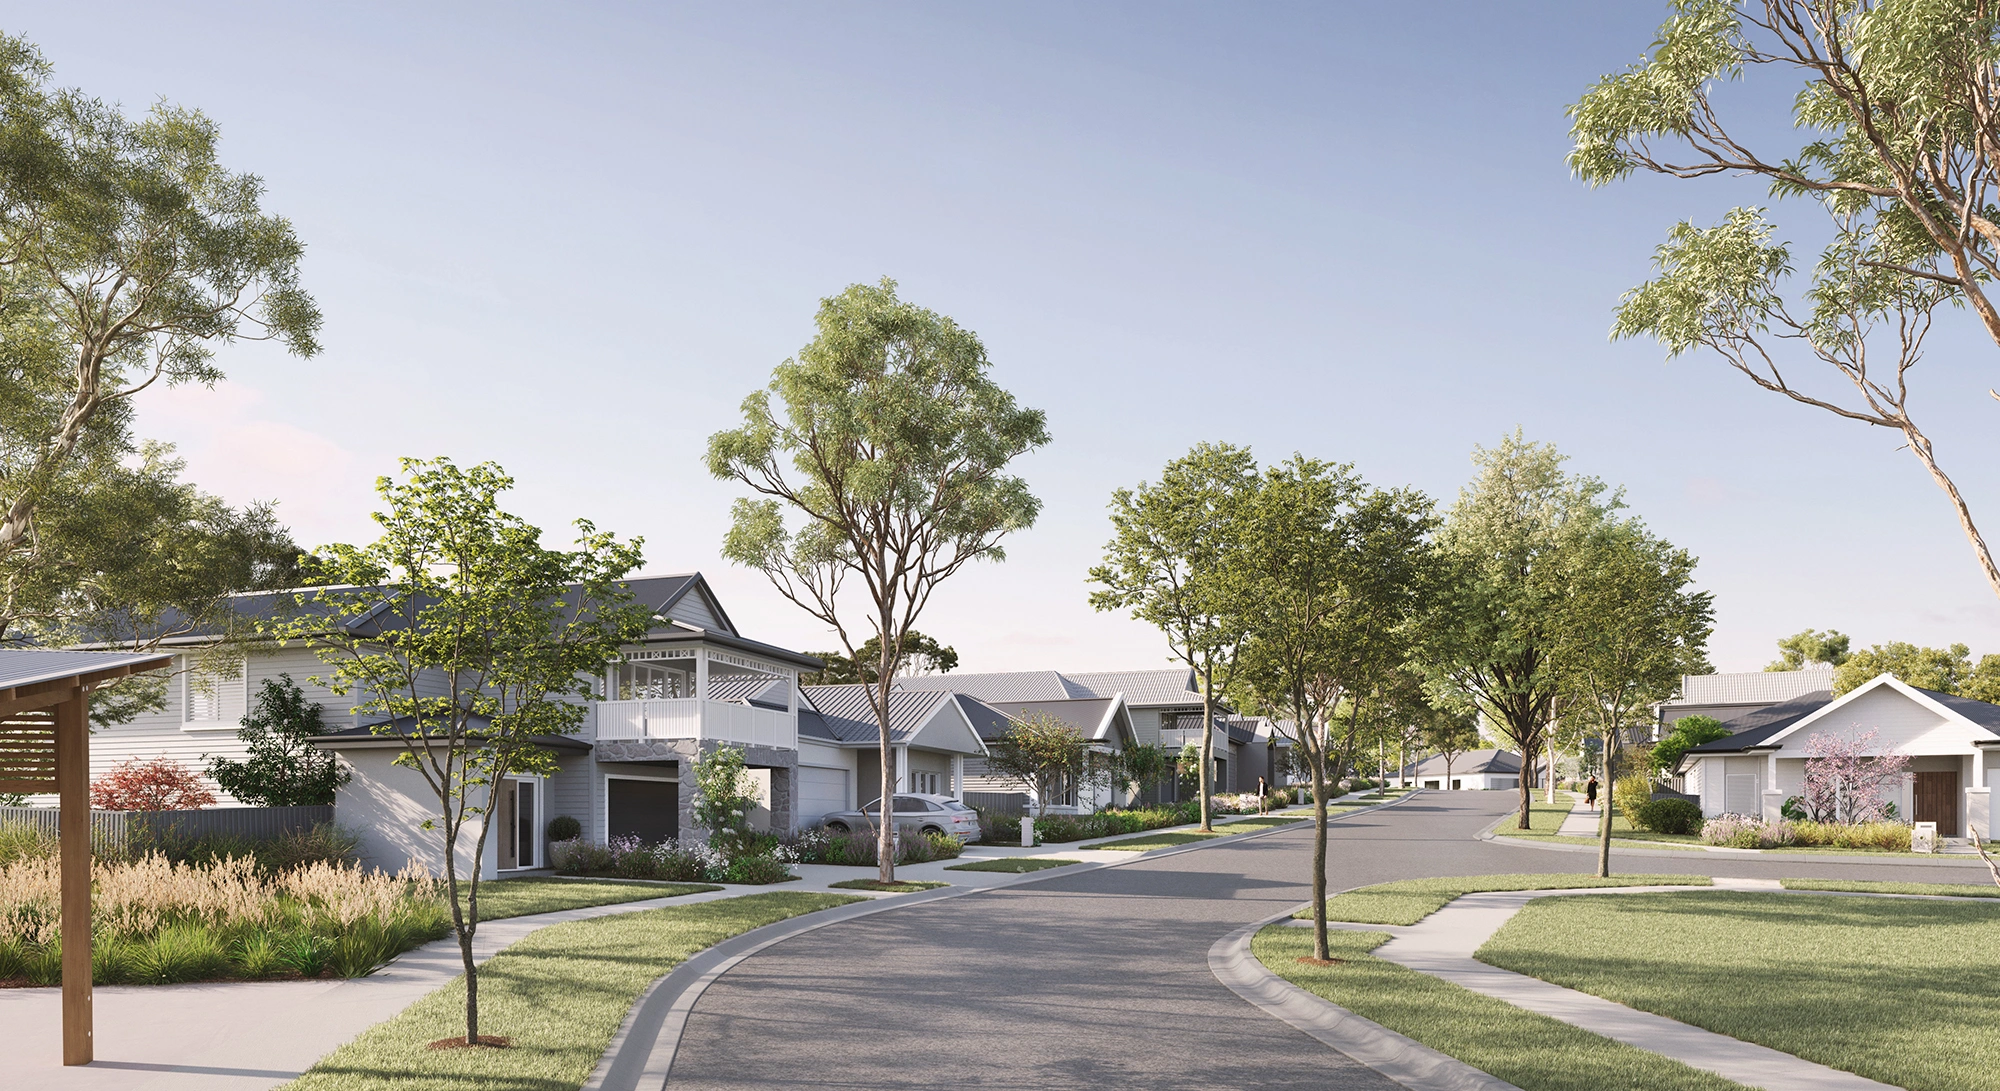
The Grange
Mount Barker · Streetscape presentation.
These examples demonstrate our broader portfolio and are not presented as Sydney renovation projects.
Common questions about renovation rendering
Can renovation renders be produced from photographs alone?
Photos may support a concept, but reliable geometry can require measured information. Agree which features can be established and which would be approximated before commissioning the work.
Can an existing photo be matched to a proposed render?
It may be possible when suitable source photography, camera information and design geometry are available. Discuss the intended use and required accuracy before agreeing the scope.
Should every existing room be modelled?
No. Define the views first, then model the information needed to represent them appropriately. Include connected spaces when they affect the view or explain an important relationship.
Can a render show an extension’s internal connection?
Yes, when the relevant design information is available. A focused interior view or clearly labelled cutaway may help explain the connection.
Does the visual confirm the renovation is technically feasible?
No. It communicates the proposed appearance and spatial relationships. Structural, construction and other technical questions remain with the relevant project professionals and documentation.
0 comments