
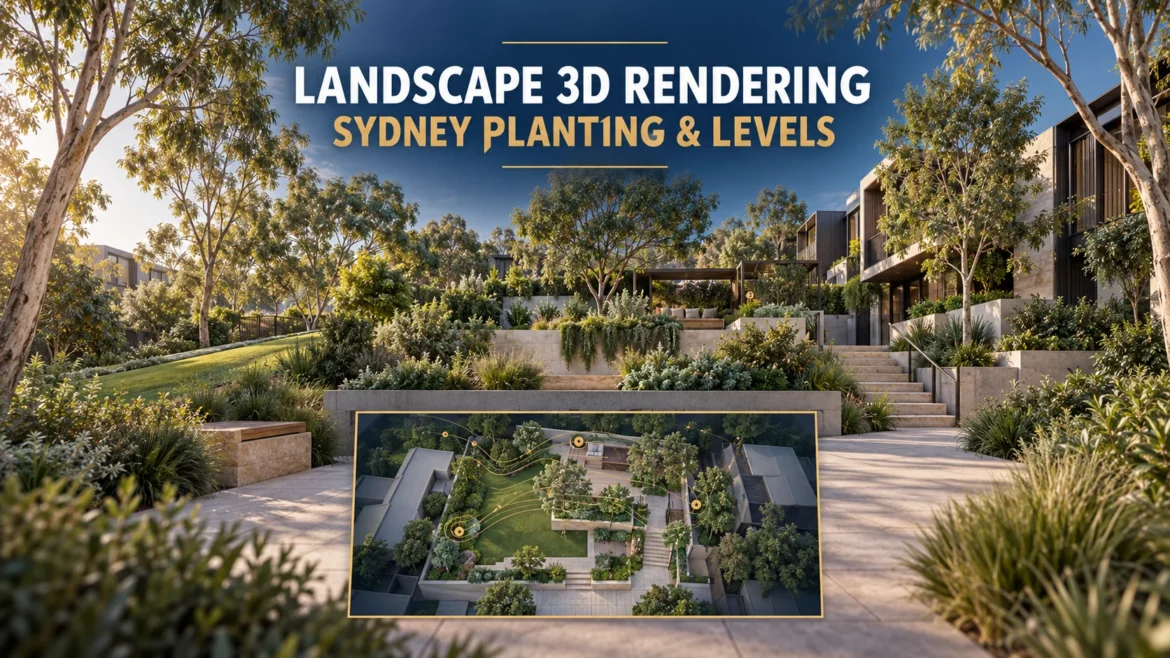
Landscape 3D Rendering Sydney: Planting & Levels
Sydney · Landscape designers · Architects & builders
Landscape 3D Rendering in Sydney: Show Planting, Levels and Outdoor Living Clearly
Help clients understand how the garden connects to the building. Plan landscape visuals around ground levels, paths, planting stages and the outdoor spaces people will use.
What should landscape 3D renders show?
Landscape 3D renders should explain the relationship between the building, ground levels, paths, planting and outdoor living areas. Use documented levels and identify whether plants represent installation or an indicative established condition. Keep boundaries and retained features visible so the image helps clients understand the proposed space.
Clients we have worked with
A selection from our wider client portfolio.








Start with the ground, not the greenery
For a Sydney landscape project, the first visualisation question is how the outdoor space connects to the building. Confirm the interior floor level, terrace, paths, steps and changes in ground level before refining the planting.
Provide the current landscape plan and relevant sections. Identify retained trees, fences, neighbouring structures and other existing features separately from proposed additions. If information is missing, record the assumption for the designer to review.
A perspective can help explain a level change that is difficult to picture from a plan. It becomes less useful when the artist flattens the site, removes a retaining element or extends a terrace simply to improve the composition.
For the relationship between the building and its surroundings, see our Sydney exterior rendering guide .
Agree what stage of planting the image represents
A newly installed landscape and an established garden can offer different amounts of shade, enclosure and screening. Decide which condition the render should communicate before modelling the planting.
Ask the landscape designer to confirm the plant references, representation sizes and density. If a future condition is shown, describe it as indicative; do not assign a precise growth timeline without an appropriate project-specific basis.
| Representation | What to agree | How to label it |
|---|---|---|
| Installation | Proposed planting sizes and spacing. | Proposed landscape at installation. |
| Established landscape | Indicative plant sizes and canopy density. | Indicative established planting. |
| Early concept | Which planting and materials remain undecided. | Concept landscape; selections to be confirmed. |
| Existing retained landscape | Relevant photographs and documented retained features. | Existing elements retained in the proposal. |
Choose views that explain outdoor use
Start with an eye-level view showing how someone moves from the building into the principal outdoor area. Include furniture at its intended scale so the client can understand the relationship between seating, circulation and planting.
An overhead view can explain the arrangement of a larger garden. A closer perspective can show the experience of sitting on a terrace or looking back towards the house. Select both only when they answer different questions.
Keep pools, water features, pergolas and outdoor kitchens aligned with the documented scope. Their appearance in the image should not suggest they are confirmed inclusions when they remain design options.
Separate atmosphere from technical performance
A daytime scene can help review materials and planting relationships. An evening scene can communicate the intended lighting mood when it follows the lighting concept. Neither should be presented as a technical daylight, drainage or lighting-performance assessment.
Example: a terrace above a lower garden
Imagine a residential project where the living room opens onto a terrace and steps lead to a lower lawn. A view from the lawn towards the house can explain the height difference, while a view from the living area can explain access and the outlook.
Keep the levels, step arrangement and boundary treatment consistent between both views. If established planting is shown around the lawn, label that scenario so it is not confused with the expected planting at installation.
Illustrative example: this explains a briefing decision; it is not a completed project or a claimed client outcome.
Your landscape rendering brief checklist
- Current design: landscape plan, relevant building drawings and revision identifiers.
- Levels and sections: information explaining terraces, paths, steps and changes in ground level.
- Existing context: photographs and records of retained trees, boundaries and visible neighbouring features.
- Planting references: the schedule, intended representation sizes and stage of establishment.
- Materials and outdoor elements: paving, fences, furniture, structures and features included in the proposed scope.
- Presentation purpose: client review or project marketing, required views and intended delivery date.
- Review contact: the person responsible for confirming assumptions and consolidating feedback.
Use our rendering input checklist when assembling the files. During review, check geometry and levels before requesting detailed styling changes.
Selected case studies from our portfolio
Explore our wider visualisation work across exterior imagery, site plans and immersive presentation.
936 Kendon Drive
Follow a residential exterior through model development, camera review and finished imagery.
Read the exterior case study →The Reserve
See how CAD information becomes a clearly organised presentation of a development site.
Read the site-plan case study →Anderson Street
Explore a project presented through a 360° VR experience.
Read the 360° VR case study →Recent work featured on our website
Interior, exterior and development imagery from our Australian portfolio. Select an image to view it at full size.
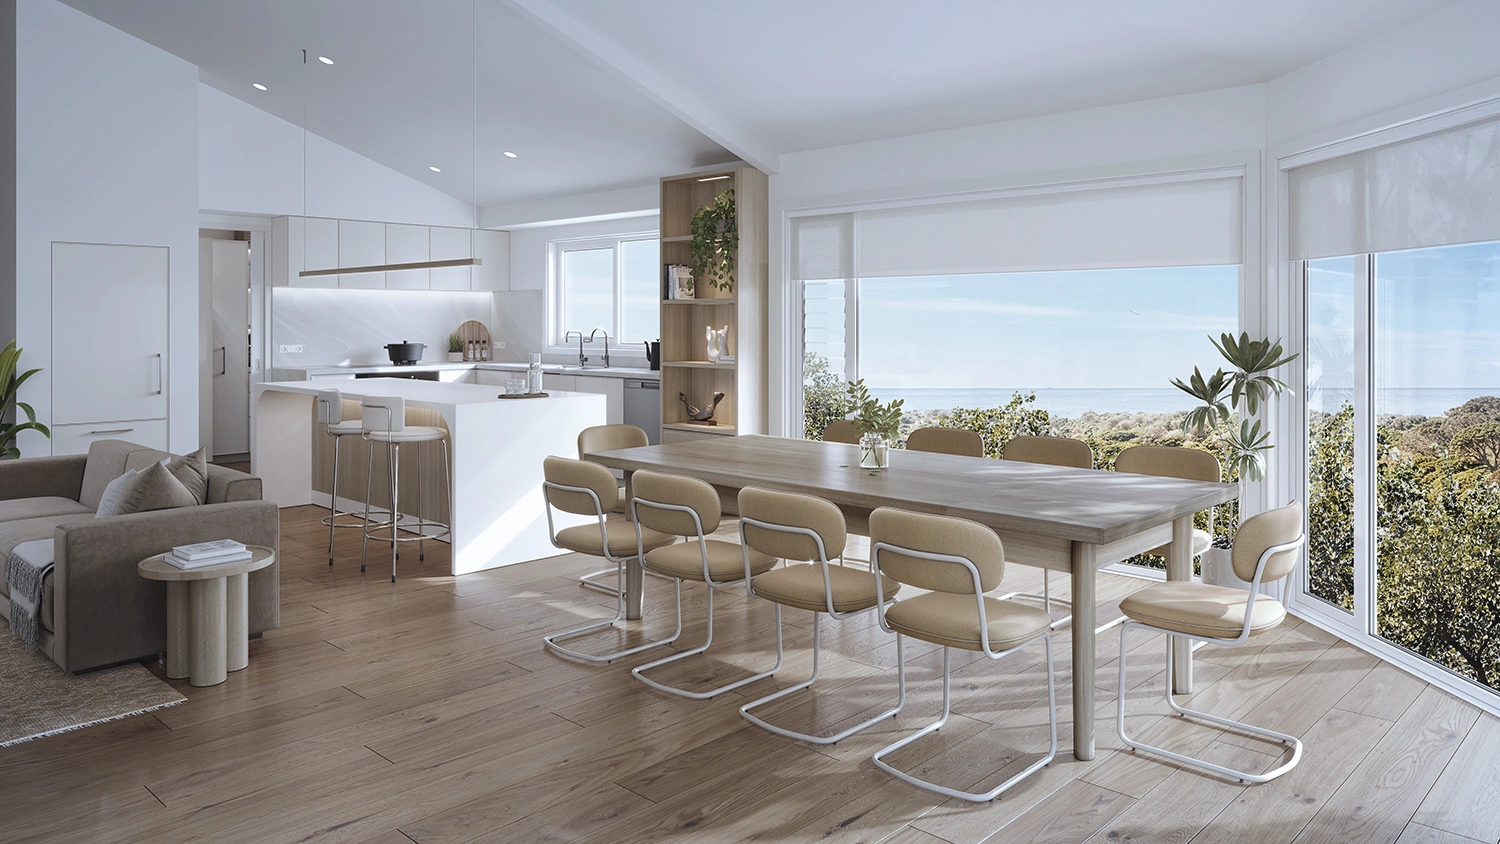
49 Wybellenna Drive
Fairhaven · Dining-area presentation.
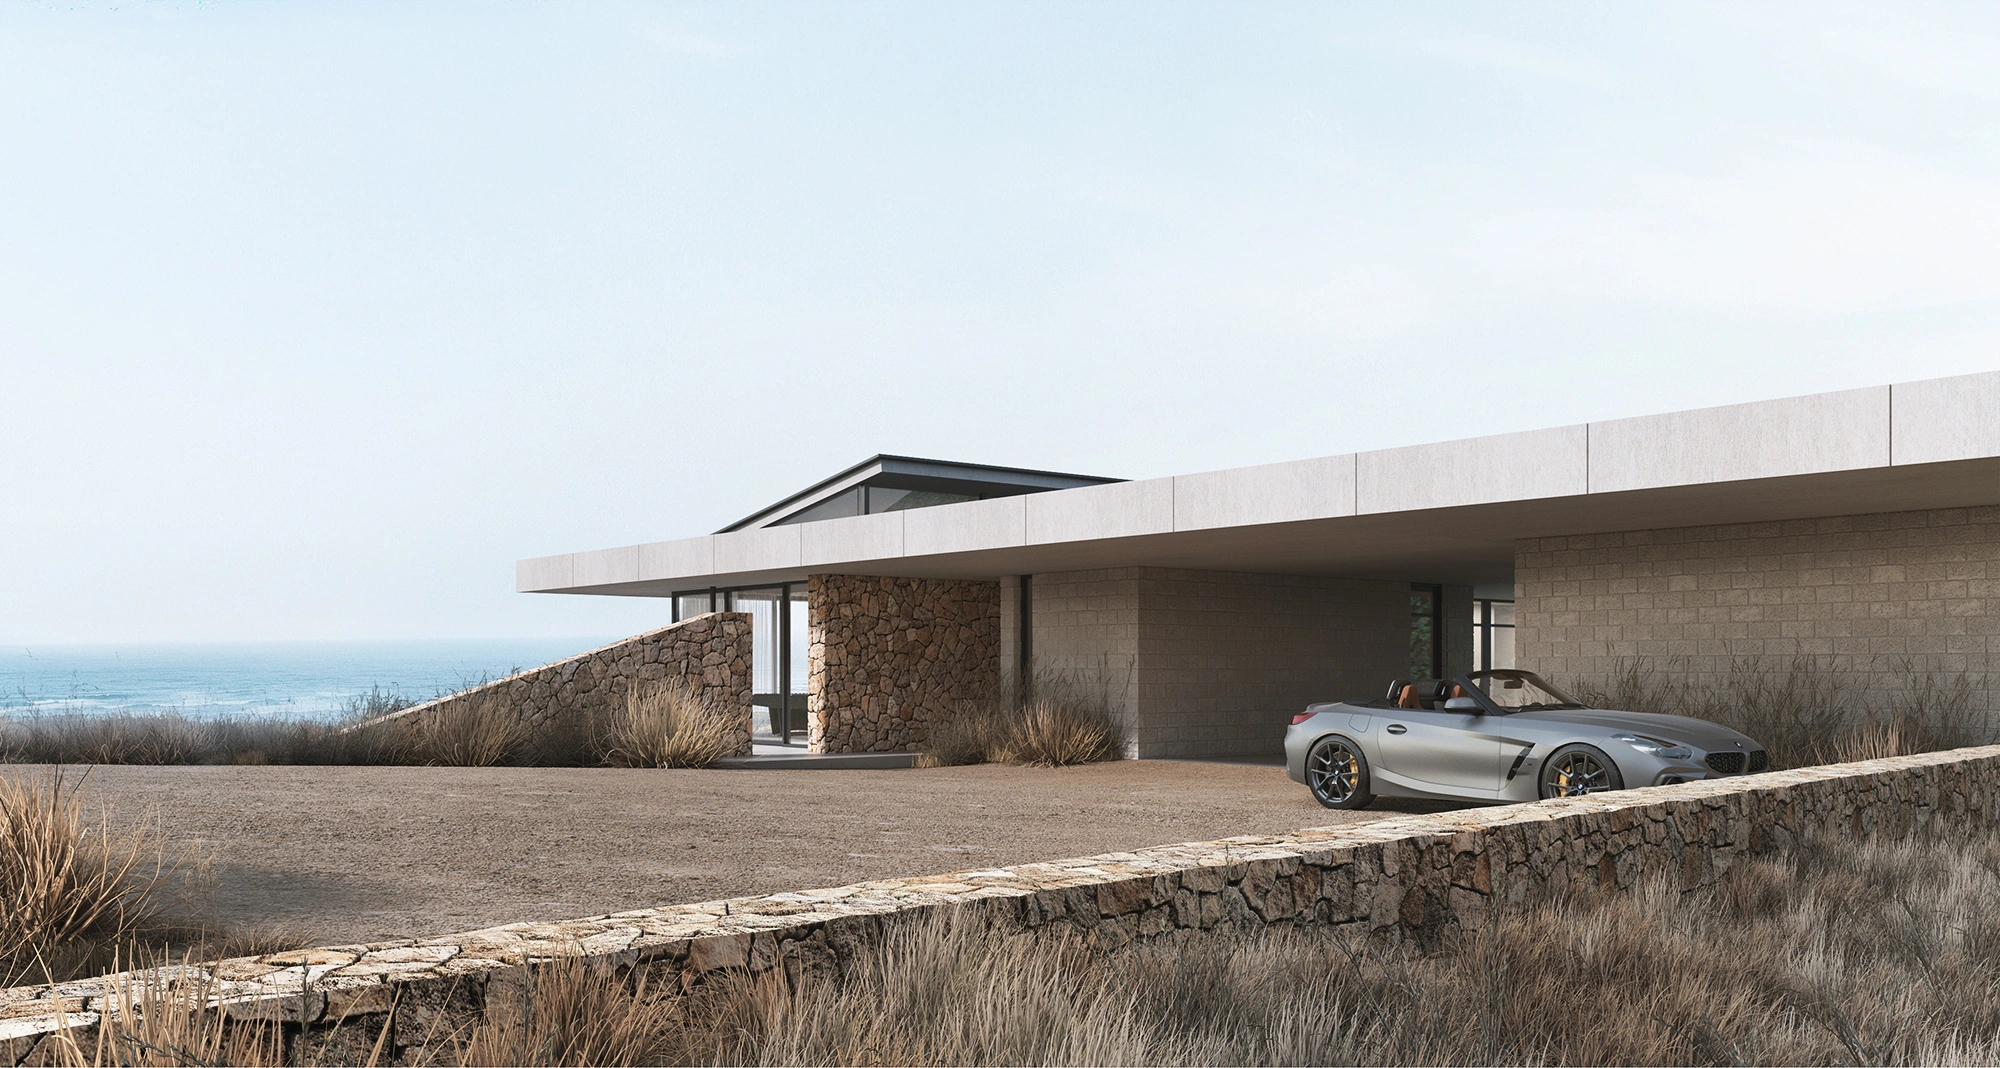
5650 Great Ocean Road
Wongarra · Residential facade presentation.
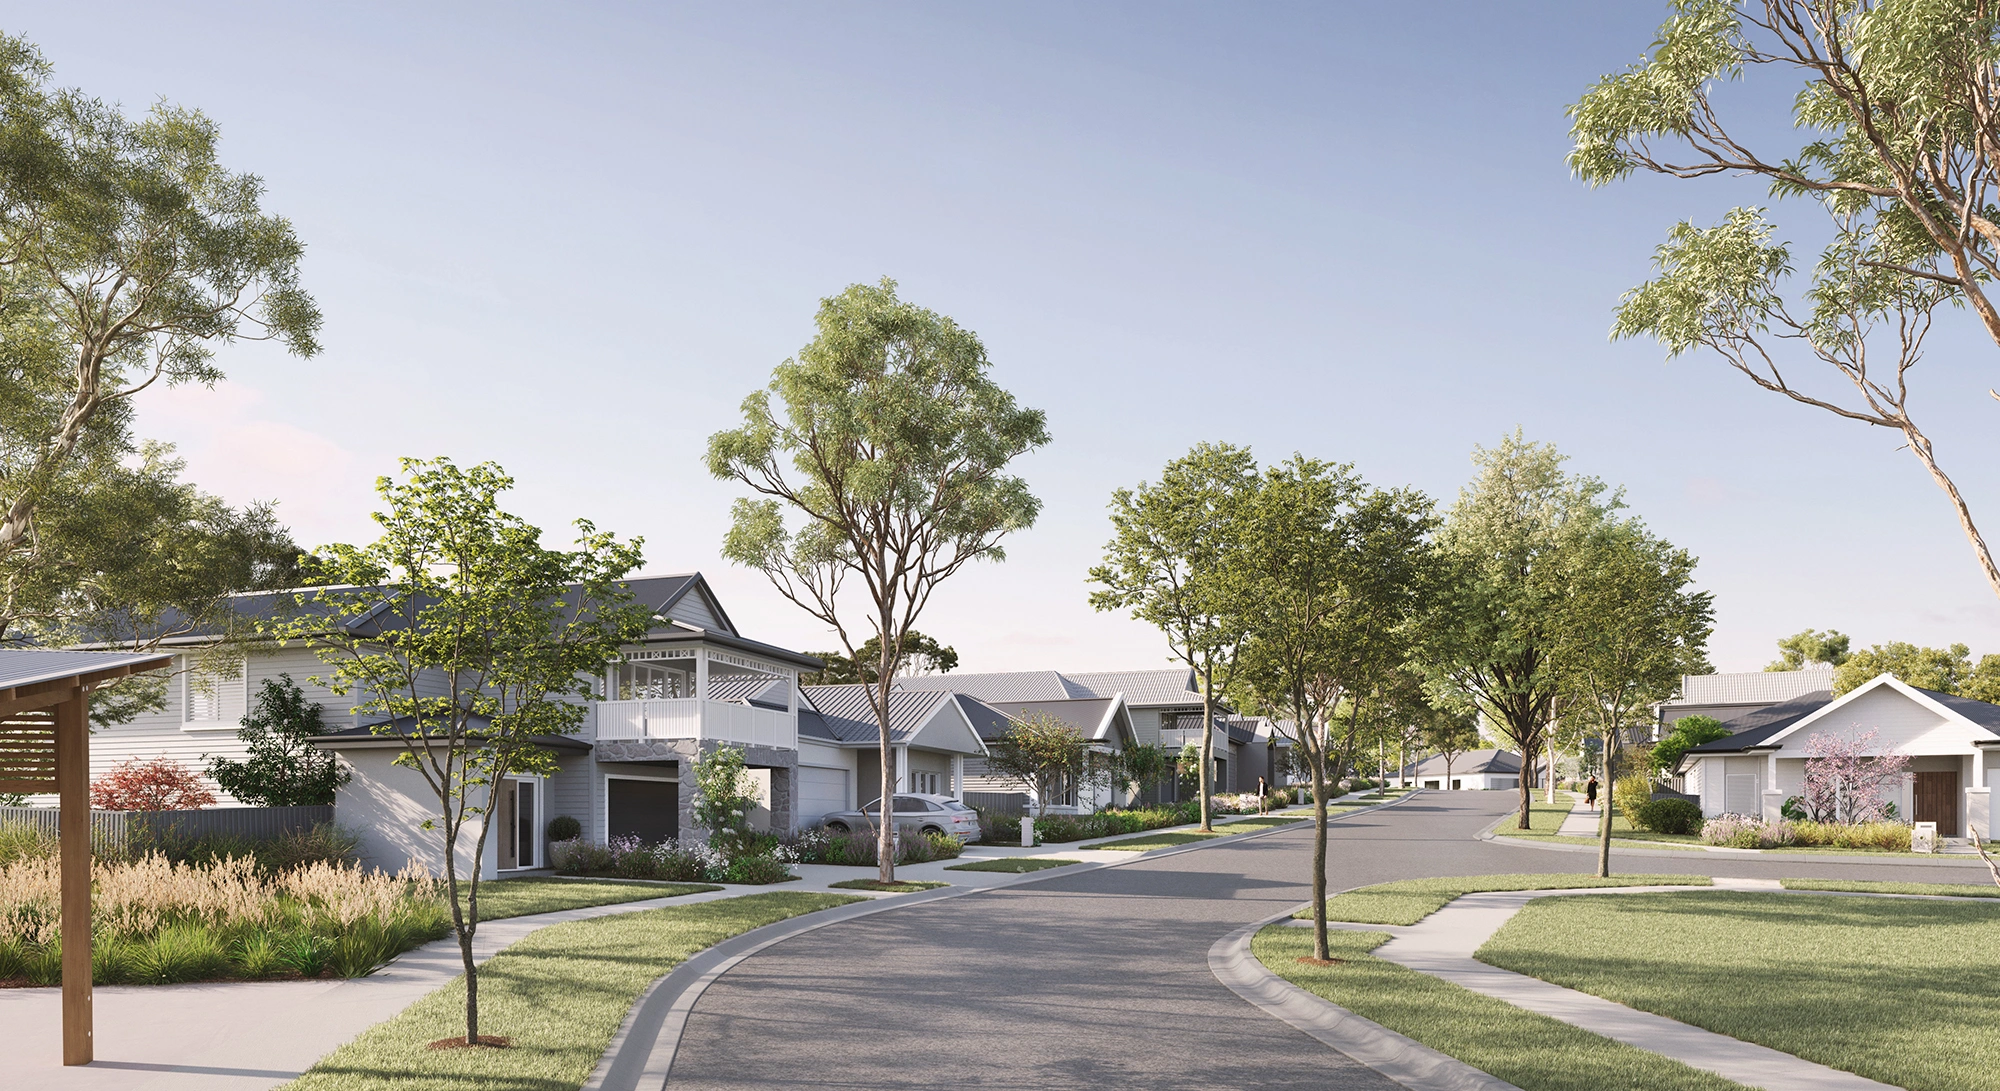
The Grange
Mount Barker · Streetscape presentation.
These examples demonstrate our broader portfolio and are not presented as Sydney landscape projects.
Common questions about landscape rendering
Can the render show fully grown planting?
Yes, as an agreed indicative established-landscape scenario. Label it clearly and have the landscape designer confirm the representation. It should not imply that the garden will look that way immediately after installation.
Can you render a sloping garden?
A sloping garden can be represented when the relevant levels and sections are available. Identify missing information before modelling so the visual does not quietly rely on unreviewed assumptions.
Do landscape renders replace technical drawings?
No. They explain appearance and spatial relationships. Construction detailing, drainage, structural design and other technical checks remain separate project responsibilities.
Should we order daytime and evening views?
Order both when they support different decisions. A daytime view may help compare planting and finishes; an evening scene may explain a documented lighting concept.
Can we compare two landscape options?
Yes. Identify the elements that change and keep unrelated camera, lighting and styling choices consistent. This helps reviewers compare the actual design options.
0 comments