
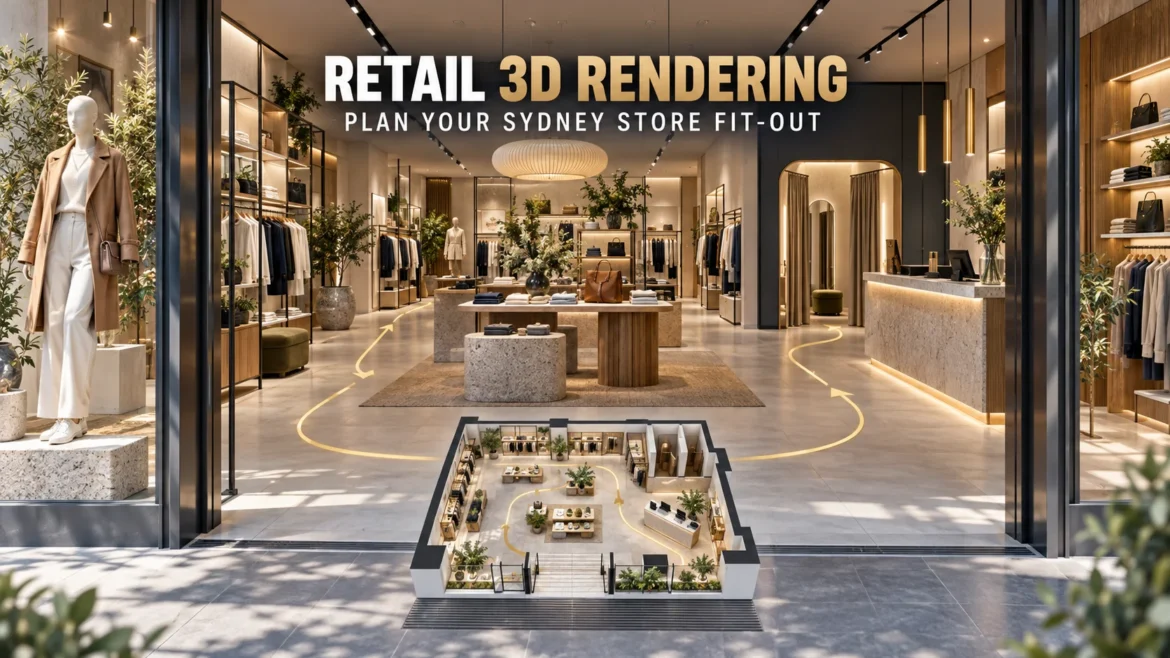
Retail 3D Rendering Sydney: Plan Your Store Fit-Out
Sydney · Retail designers · Shopfitters
Retail 3D Rendering in Sydney: Plan the Customer Journey Before Your Fit-Out
A shop needs to do more than look attractive. Use retail renders to explain the entrance, product displays and service points before the design moves into construction.
What should retail 3D renders show?
Retail 3D renders should show how a customer notices the shop, enters, finds products and reaches the service point. Base the visuals on current plans and realistic fixture dimensions. Use them to review the proposed experience alongside the layout, rather than treating a polished image as proof of footfall, sales or technical compliance.
Clients we have worked with
A selection from our wider client portfolio.








Start outside: what can a passer-by understand?
Before commissioning retail 3D rendering for a Sydney fit-out, decide what the shopfront needs to communicate. The sign, entrance, glazing and window display should be considered together. A beautiful interior is less useful in a presentation if the arrival experience remains unclear.
Provide the shopfront elevation and photographs of the existing setting. For a shopping-centre tenancy, identify the elements within your fit-out scope and those belonging to the surrounding centre. Keep neighbouring frontage and shared areas consistent with the supplied context.
Agree whether the image represents an early concept or a coordinated proposal. Any signage, finish or display still under review should be identified in the presentation notes.
Choose views around customer decisions
Trace a simple route from the entrance to a key product display and then to the service counter. Identify where the customer needs a clear sightline, an orientation cue or a visible destination. Choose images that explain those moments.
Compare the proposed views with the floor plan. A perspective can explain how a space feels, while the plan helps reviewers understand the route and its dimensions. Repeated wide-angle images do not necessarily answer different questions.
| View | Question | Check |
|---|---|---|
| Shopfront | Is the entrance and store identity clear? | Signage, glazing and actual surrounding context. |
| Entrance looking in | What does the visitor notice first? | Primary display, sightlines and fixture arrangement. |
| Product zone | How is merchandise presented? | Shelf dimensions, product scale and stock density. |
| Service point | Can the visitor identify where to get help or pay? | Counter position, signage and adjacent circulation. |
Explore our commercial-space visualisation services for related project applications.
Model fixtures and merchandise at realistic sizes
Confirm shelf heights, display depths, counter dimensions and prominent equipment before detailed styling. Oversized products or undersized furniture can change how reviewers perceive the space.
Agree the intended stock density. A lightly styled concept may communicate a design direction, but it may not represent the store during normal trading. Ask the retailer whether the review needs a display concept, a representative merchandise arrangement or both.
Once the layout is stable, compare finishes under consistent lighting. Use approved brand assets and product references. Avoid introducing unapproved promotional messages simply to make the image look complete.
Example: an attractive entrance, but a hidden counter
Imagine a store where a tall central display makes the first interior view look dramatic but blocks the service counter. An entrance view and a view back towards checkout can reveal the relationship more clearly than two similar product close-ups.
The designer could then compare documented fixture-height or counter-position options using the same camera. This is an illustrative review scenario, not a completed project or a claimed commercial result.
For room presentation and finish considerations, read our Sydney interior rendering guide .
What to include in your retail rendering brief
- Current drawings: floor plan, shopfront elevation, relevant sections and the design revision.
- Existing context: photographs and information about retained elements and surrounding frontage.
- Fixtures and equipment: dimensions, selected products and any unresolved details.
- Merchandising direction: product categories, representative stock density and key displays.
- Brand and finishes: approved logos, signage references, colours and material selections.
- Presentation purpose: the questions each image needs to answer, intended use and target date.
- Review responsibility: one contact to consolidate feedback from the retailer, designer and project team.
Keep the approved views linked to the relevant drawing and finish versions. If the design changes, check the affected images before using them again. Our rendering feedback checklist can help structure that review.
Selected case studies from our portfolio
Explore our wider visualisation work across exterior imagery, site plans and immersive presentation.
936 Kendon Drive
Follow a residential exterior through model development, camera review and finished imagery.
Read the exterior case study →The Reserve
See how CAD information becomes a clearly organised presentation of a development site.
Read the site-plan case study →Anderson Street
Explore a project presented through a 360° VR experience.
Read the 360° VR case study →Recent work featured on our website
Interior, exterior and development imagery from our Australian portfolio. Select an image to view it at full size.
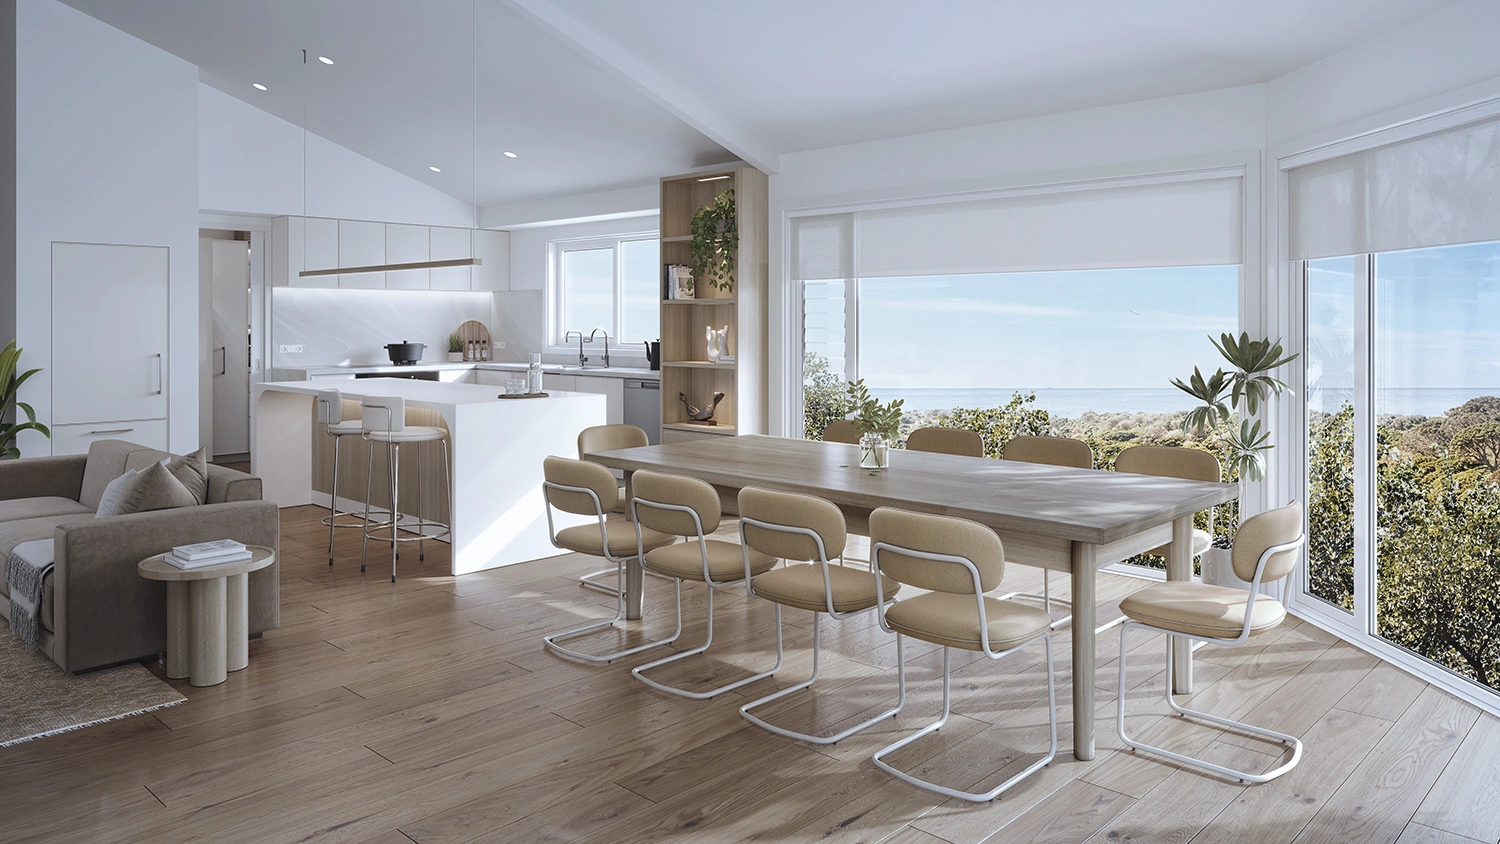
49 Wybellenna Drive
Fairhaven · Dining-area presentation.
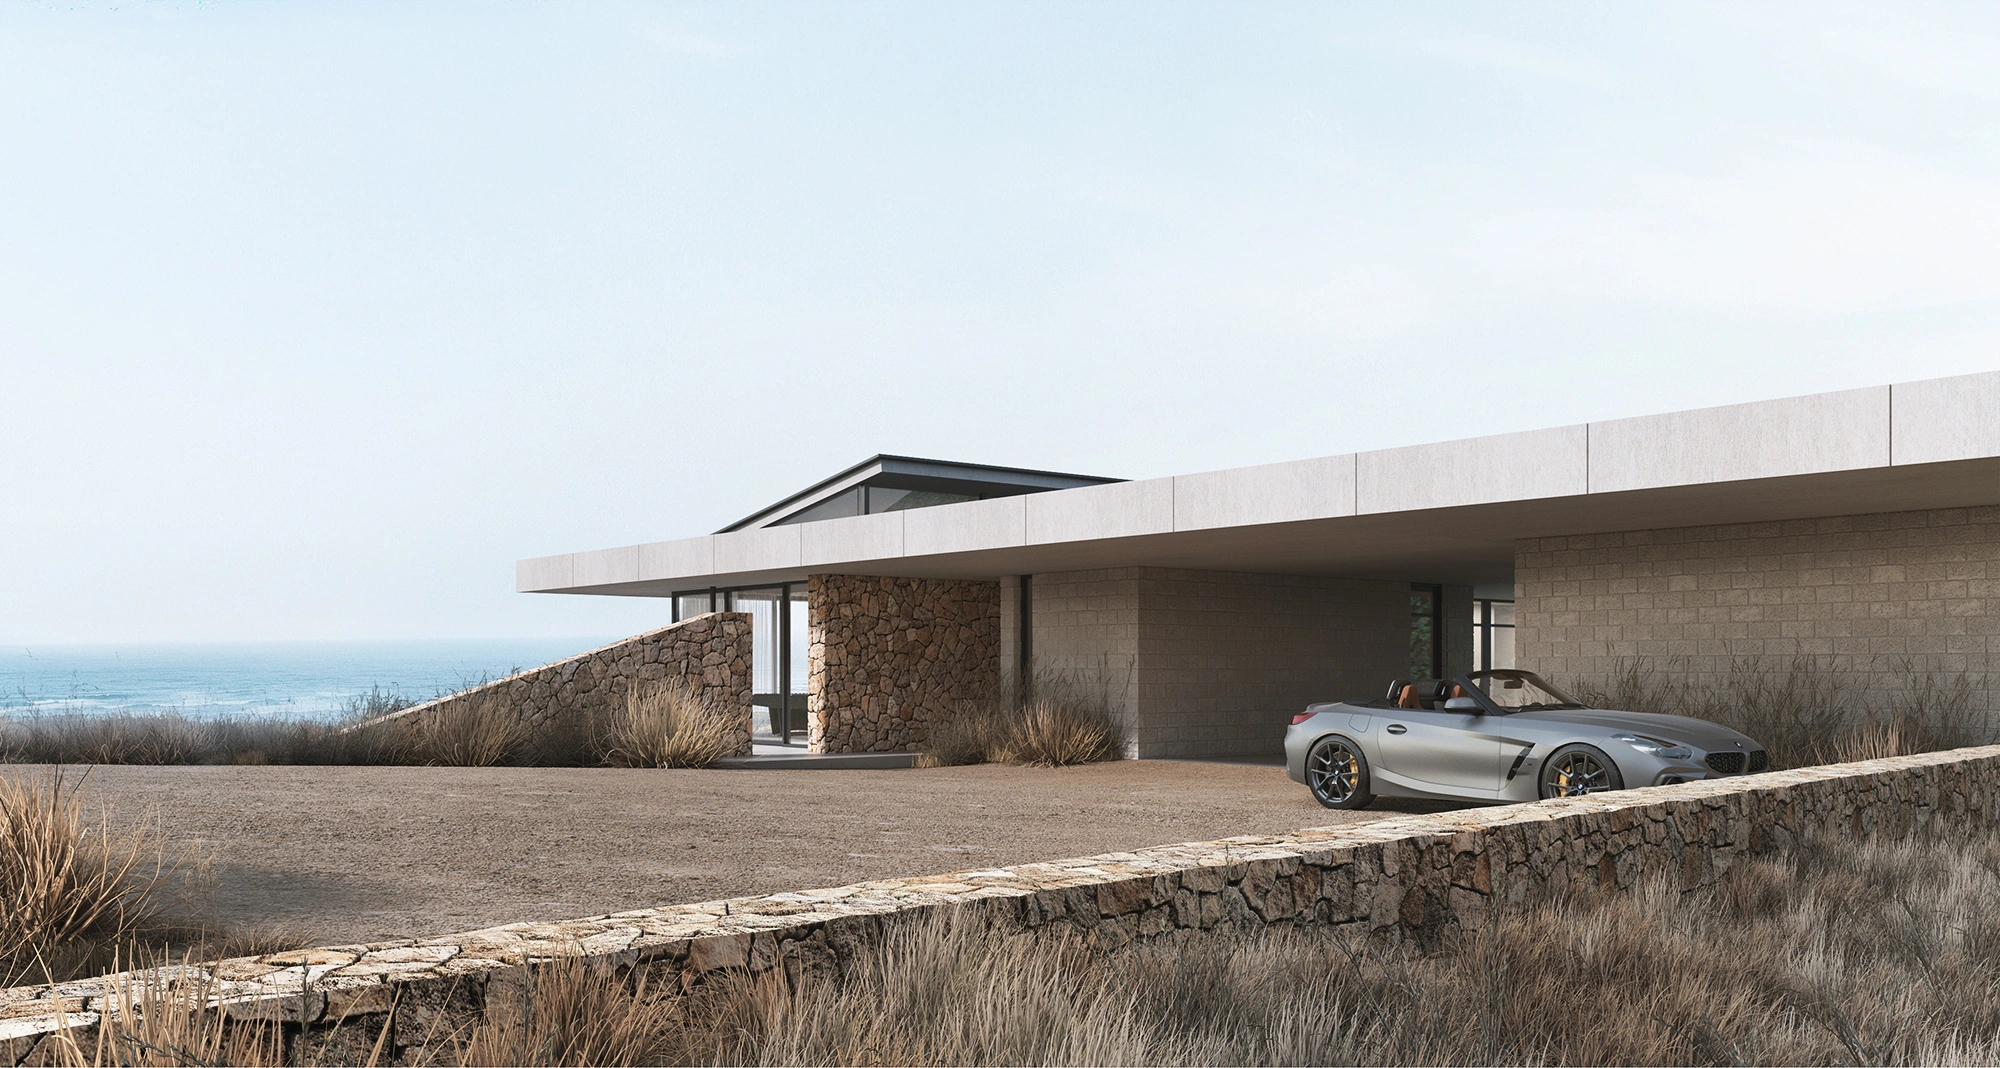
5650 Great Ocean Road
Wongarra · Residential facade presentation.
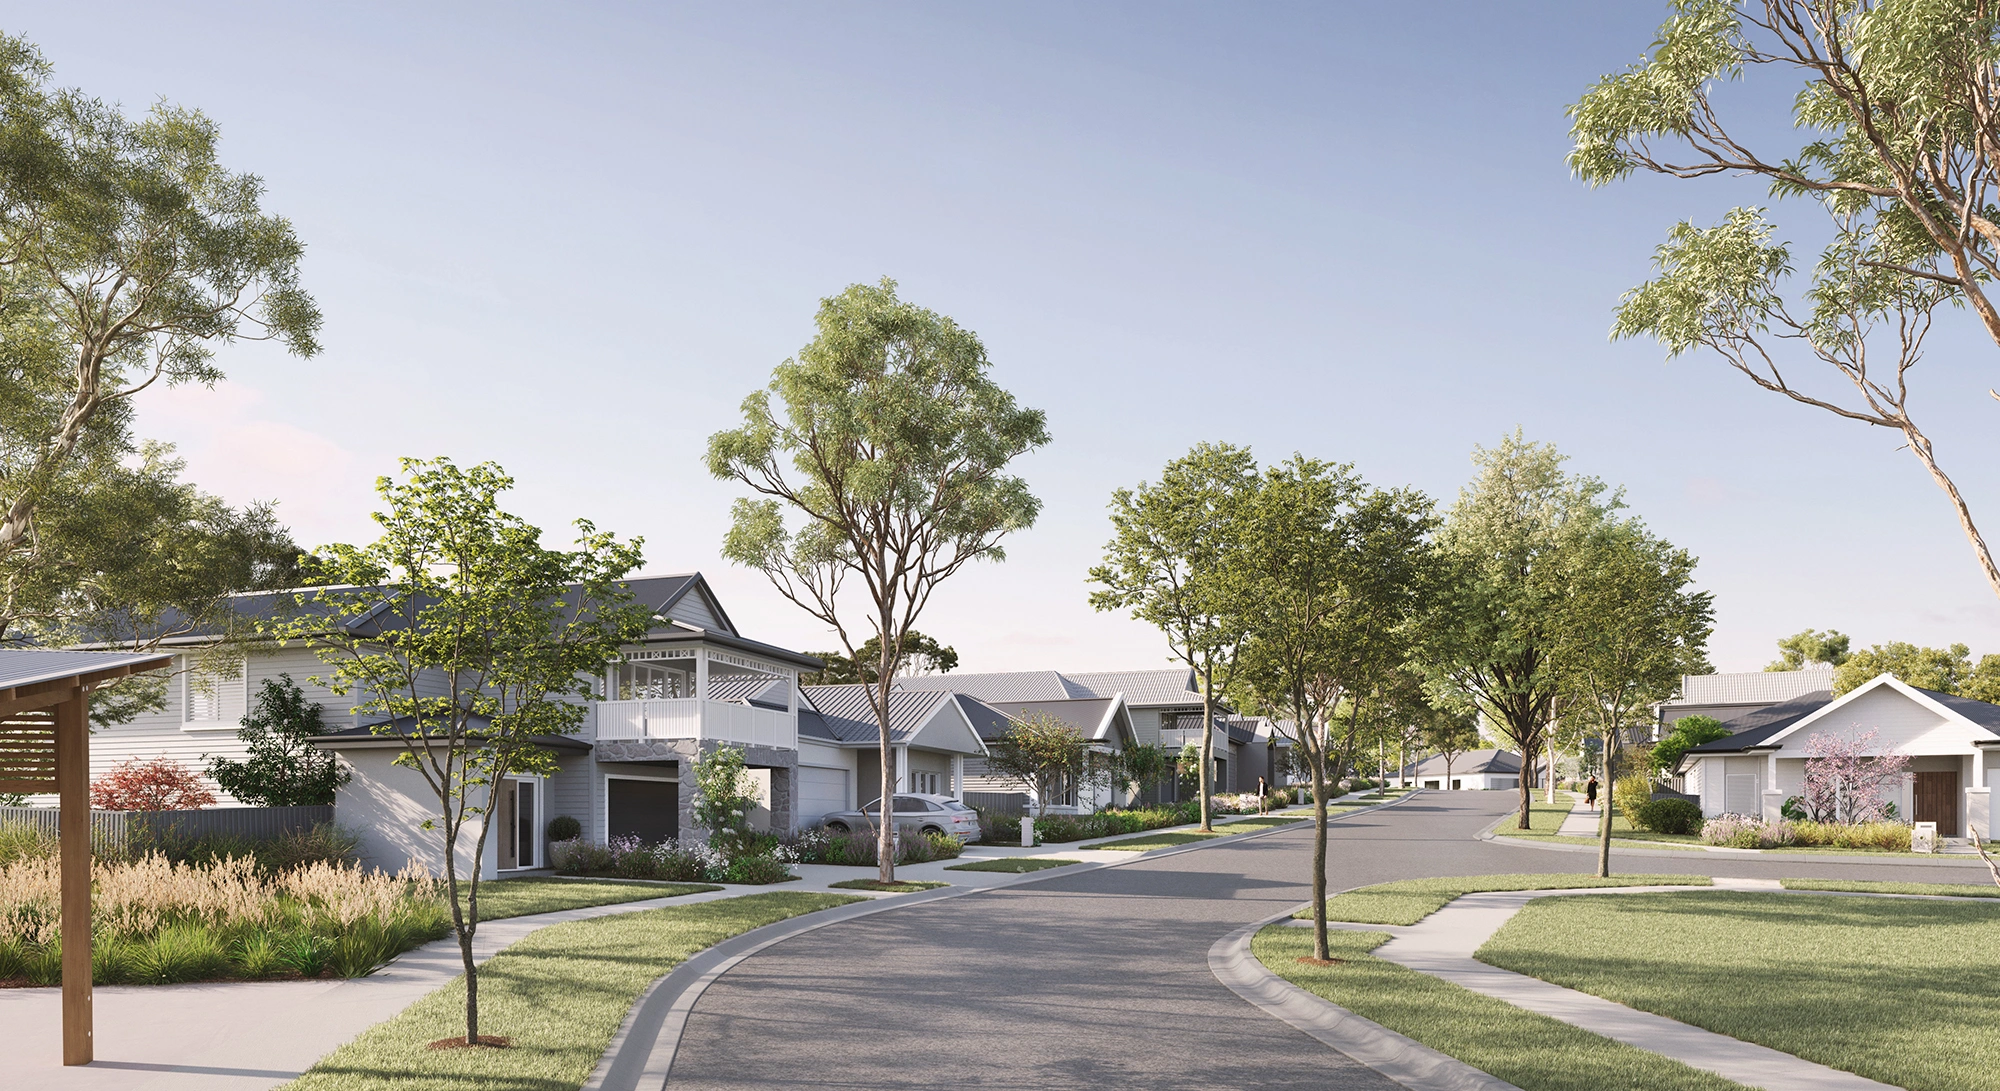
The Grange
Mount Barker · Streetscape presentation.
These examples demonstrate our broader portfolio and are not presented as Sydney retail projects.
Common questions about retail rendering
Can a retail render be created before the fixtures are final?
Yes, as a concept representation with agreed indicative dimensions. Identify what remains unresolved and update the image when final selections affect the layout or appearance.
Should products be included in the images?
Include representative merchandise when scale and display density matter to the review. Agree the level of detail and use approved product or brand assets.
Can we compare two shop layouts?
Yes. Use the documented layouts and comparable viewpoints. Keep unrelated styling and lighting changes to a minimum so reviewers can focus on the layout decision.
Does every retail fit-out need a walkthrough?
No. Still images may answer the key questions. Consider a walkthrough when movement through a larger or more complex space is central to the presentation.
Does a render replace shopfitting drawings?
No. It communicates the proposed appearance and spatial relationships. Construction details and technical assessments remain part of the relevant project documentation.
0 comments